From old to new and shiny
 Here i´ll explain how I like to clean a carburettor, and this goes for a carburettor for a early cars from the twenties up to some of the last carburettors that came just before the the electronics on these objects. The reason that I don´t do so called modern (with electronics) carburettors is that they are to fragile and complicated, and the cars they sit on do not interest me – but that is just a question of taste.
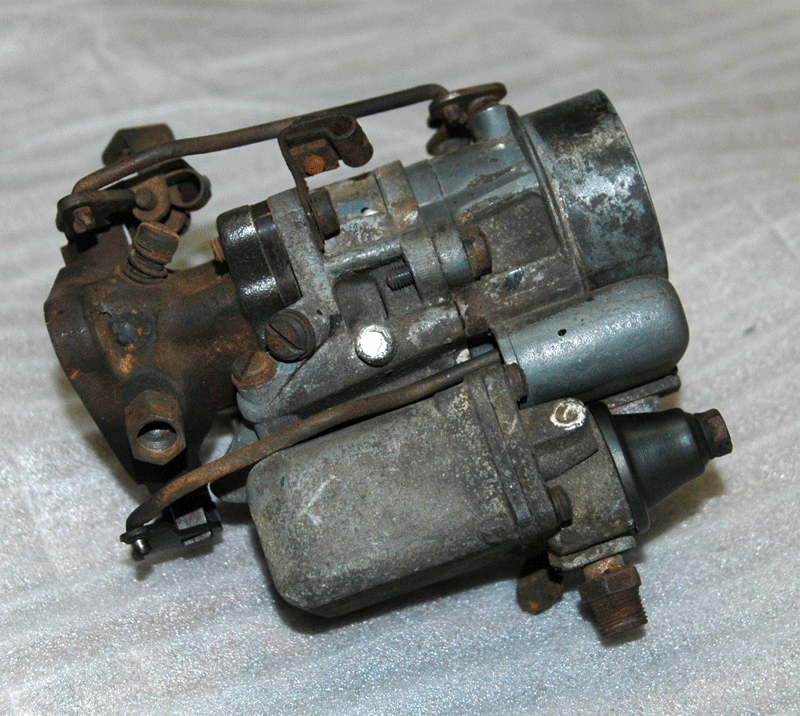
First thing to do, is to determine if there is a need to take it off and apart. If the car runs nice and doesn’t consumes to much fuel everything should be OK and an external wash might be enough.
But in this case the carburettor is an old one from the shelf, or maybe the one that is on your car does need a thorough cleaning.
First thing to do is to check if spare parts are available. If spare parts are available, then buy a gasket kit and other known part that needs to be changed such as the needle valve. Also have the shop manual for the car model at hand. Finally if you are in doubt that you will remember how things are put together, then take pictures with your phone or digital camera while you are taking things apart.
 Basically what you have to do is: Take all connections off the carburettor such as the air filter, throttle linkage, choke cable, electrical wires for automatic choke if installed, fuel line and eventually vacuum hose(s) – remember pictures if needed...
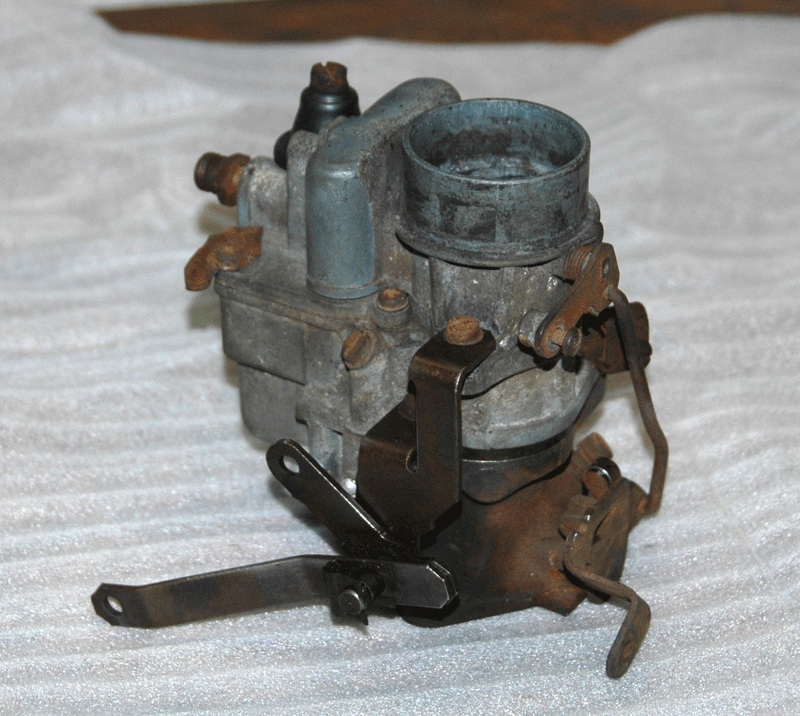
Now take off carburettor from manifold and place it on your workbench. Here it is a good idea to take some more pictures of the levers and linkage on the carb.
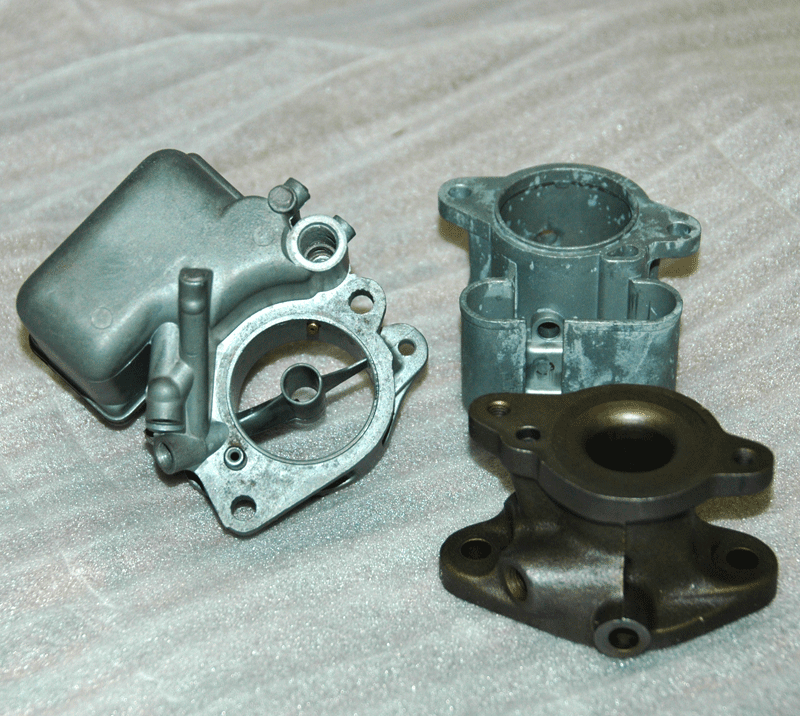
Now starts the delicate work. Take off the worst grit and gunk that have accumulated over the years in order to find all screws and bolts. A traditional carburettor (for the majority of times) consists of three main body parts: the throttle body (often made of cast iron), the venturi housing and the housing for the float chamber, and all these parts are held together by screws and sometimes bolts. Make sure that all connecting rods and levelers are off and then remove all the screws that hold the parts together and gently pry them apart. NEVER TRY TO TAKE THEM APPART WITH A CHISEL OR A SCREWDRIVER! This will ruin the parts!
After removing the old gasket it is the right time to check if all the gasket surfaces are straight. If the parts are distorted due to over tightening they are very difficult to repair since the carburettor housings are usually made of a zinc alloy that can not be welded nor tolerate much bending.
Once taken apart extract all the inner parts and be sure to remember where all the nozzles go. 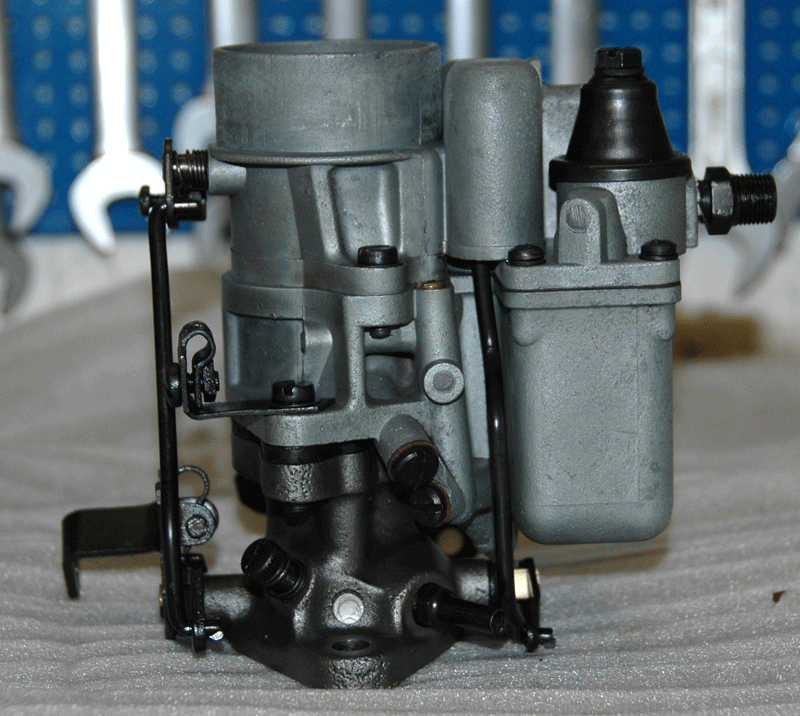 Now the magic will soon happen... Clean thoroughly all the body parts in kerosene or gasoline (remember gloves) in order to remove any grease. I then use my sandblaster box, but here I DO NOT USE SAND, I use glass as fine I can get it. This gives the parts a silk like finish, it does leaves some glass in the hollow areas of the housing. To remove the last remain of glass I use compressed air and then I put all parts in my ultrasonic cleaner. I run it for about one hour in the cleaner, and immediately after taking the parts out spray them with WD40. This leaves the surface of the parts protected from moisture, since the material is not protected from moisture at all. If you don’t protect the surface it will start to corrode within ten to twenty minutes.
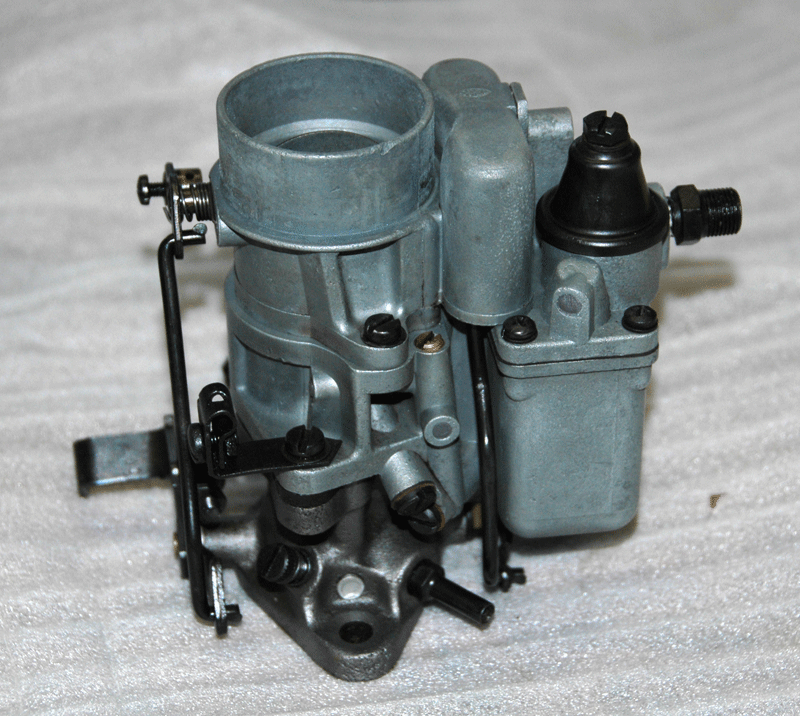
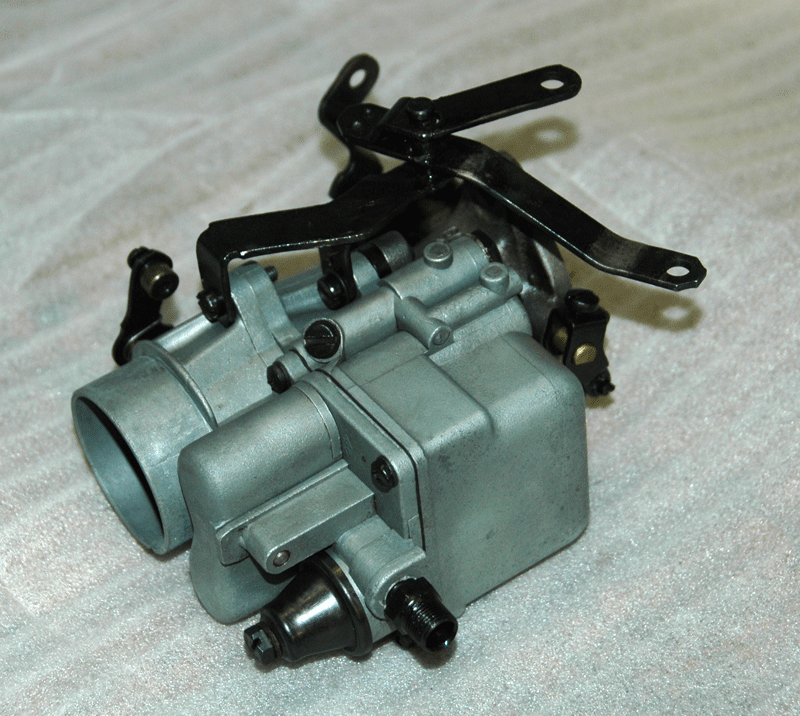
Now reassemble the carburettor with the new parts and new gaskets and you can make the basic adjustments before reinstalling it.