
Preparation before some paiting
Hi again, I´m back after a long time with no updates.
There has been a lot of sheet metal work on the body shell, and a lot of delays caused by private obligations. Hopefully now we are back on track with the project.
Since the last update, the car is back from the media blaster. The car was blasted with corundum with is less agressive than steel grain or sand, and it gives less deformation of the metal sheet and it is still a effective way of getting rid of surface rust. They also sprayed the blasted area with som high quality epoxy primer, with made it easy for me to start sealing all the panel joints on the body shell.

 I have completed the remaining sheet metal work and I have sealed all the panel joints and overlaps on the entire body shell. My goal with sealig is to prevent water to enter the cavaties as much as possible. The water will allways be able to drain due to the drains that are built in, but letting as little water in as possible is a primary goal when driving in scandinavia. All the cavaties will get a treatement with some rust protecting product every 2 to 3 years interval as a precaution.
Before painting the underside of the body shell, with includes the rear wheel tubs, I have to deal with the whee arcs. The outer skin of the arches is quite close to tubs, and since I want to fill the small dents after the sheet metal work with some body lead filler, I have to apply heat. So in order not to fry the paint in the tubs I have to complete the wheel arcs.
The pictures show some of the process of when applying the tin/lead to the metal.

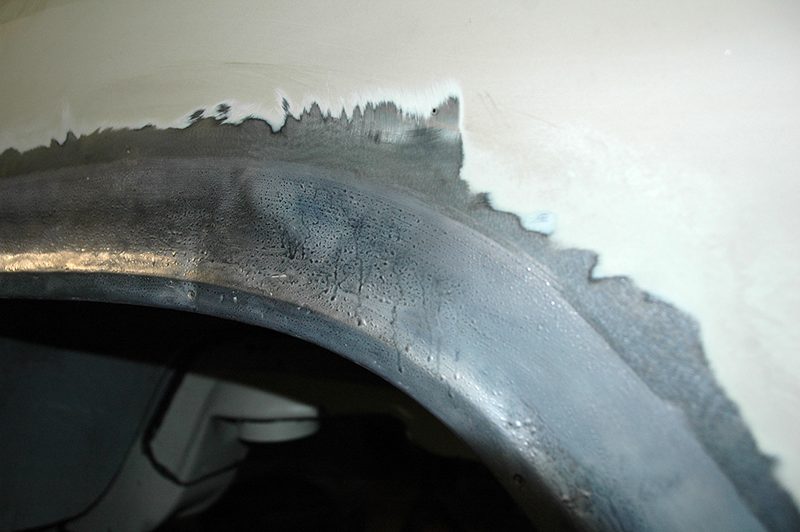
These two images show the preparation of the metal with the flux applyed and ready. The flux is painted on the clean and bare metal, and the heated with a blow torch util the paint transforms into a thin layer of tin. The leftover flux is then whiped off with a wet piece of cloth.
Check this video to learn more about lead filling: https://youtu.be/87fuTnBS2bE
Since then the Body has been tilted to the other side and the rest of the sealing is done.The surface of the primer will be rubbed down for a matte finish.


The dark areas with sealer are now coated with a thin layer of primer.
This is done to have a base coat that is uniform, because the base color of a metallic paint i slightly translucent.
Next update will be when the bottom of the car is painted.